
A new kind of short video is all over social feeds right now: the zombie apocalypse love story. It opens on a standoff in the ruins. One person, eyes full of tears, raises a gun at the partner who has already been infected. Just as the infected partner lunges forward, a match cut throws the scene into a sunlit golden meadow, where the two of them fall into each other's arms laughing, as if transported back to a happy memory from before the end of the world.
On PoloX AI, you can easily make your own version with the Zombie AI Video Trend skill. Upload two portrait photos, choose who plays the survivor and who plays the infected partner, then pick an opening scene and your video settings, and you get a 20-second cinematic video with sound. According to the skill page, the result is a photorealistic, 35mm-style film scene, complete with the infected partner's charging leap, an instant flashback match cut, and a swelling orchestral score blended with wedding vows.
Below, we walk through the whole process using two photos. Both people in our example are AI-generated, fictional characters, not real people.
Step 1: Prepare Two Clear Portrait Photos
You need two portrait photos: one for the survivor and one for the infected partner. The skill accepts JPEG, PNG, WEBP and GIF files, up to 30 MB each.
The clearer your photos, the more the characters in the video will look like the people in them. Choose solo shots that face the camera (or nearly), with clear features, even lighting and nothing covering the face. In this example, we used a man in a green crewneck sweater and a woman in a beige cardigan.
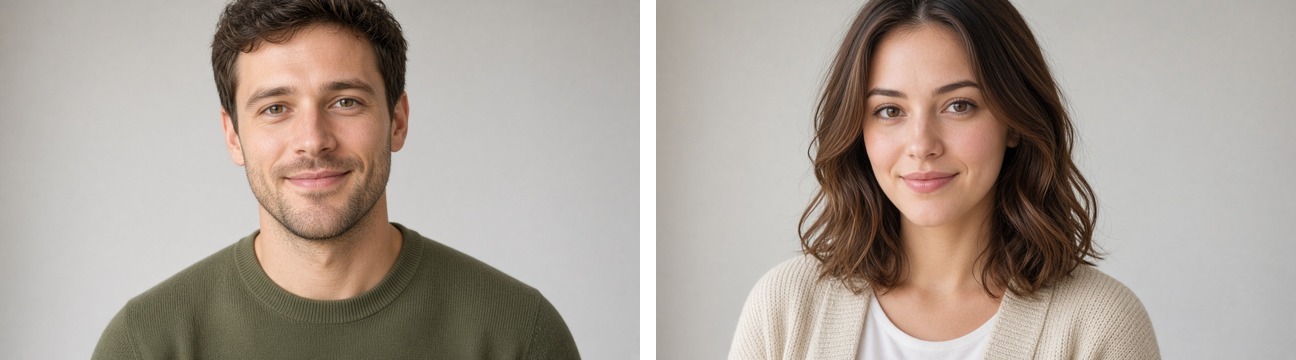
The two input photos used in this guide: the man on the left (Photo 1) and the woman on the right (Photo 2). Both are AI-generated, fictional people.
Step 2: Open the Zombie AI Video Trend Skill
Go straight to the Zombie AI Video Trend skill page, or find Zombie AI Video Trend in the PoloX AI Skills library and click it.
At the bottom of the skill page there is a built-in agent input box. The Zombie AI Video Trend skill is already attached to it as a tag, and the placeholder text reads "Upload two portrait photos of the couple to begin." You don't need to choose a model or write a prompt.
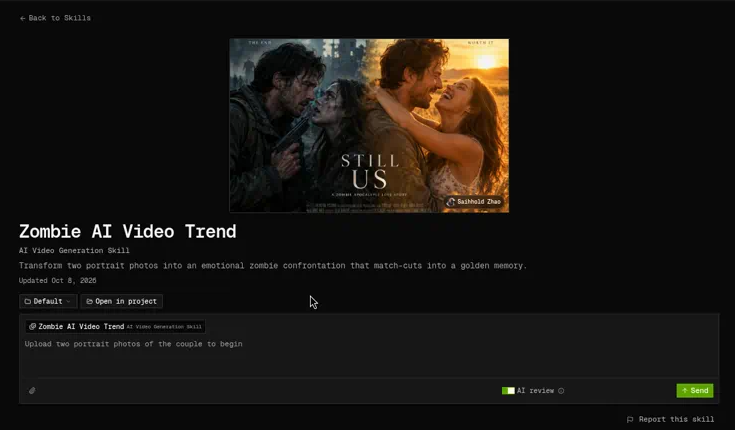
The agent input box at the bottom of the skill page already has the Zombie AI Video Trend skill attached.
Step 3: Upload Your Photos in the Agent Input Box
Click the paperclip icon (Attach image or audio) in the bottom-left corner of the input box, then select your two photos one after the other.

Click the paperclip icon in the bottom-left corner (highlighted in red) to upload your photos.
Once they are uploaded, thumbnails of both photos appear above the input box. There is no need to type anything: just click Send in the bottom-right corner, and the skill takes care of the rest.

Both photos are uploaded. Just click Send.
Keep in mind that the upload order sets the numbering: the first photo becomes Photo 1 and the second becomes Photo 2. We uploaded the man's photo first, so he is Photo 1 and the woman is Photo 2. The choice cards that follow use the same numbering.
Step 4: Choose the Roles, Scene and Video Settings
After reading your photos, the agent shows a choice card that asks one question at a time. The top of the card explains what happens if you skip: Photo 1 (the man) becomes the survivor, Photo 2 (the woman) becomes the infected partner, the scene is an abandoned kitchen, and the video is 9:16 vertical at 1080p. You can click Skip at any time to let the agent decide for you.
Question 1: Role assignment. Who is the human survivor, the one holding the gun and finally surrendering? The options are Photo 1 (Man) (the man in the green crewneck sweater, marked Suggested), Photo 2 (Woman) (the woman in the beige cardigan), and Other, which lets you describe a custom role assignment. We chose Photo 1 (Man) and clicked Next.
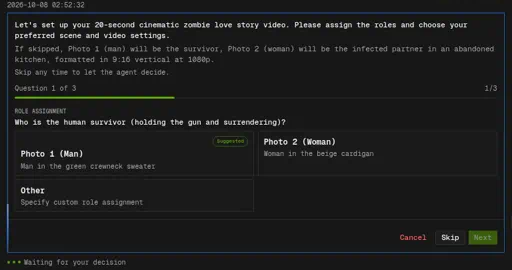
Question 1: choose who plays the human survivor holding the gun.
Question 2: The infected partner. Who is the infected partner charging forward in a feral state? We chose Photo 2 (Woman).
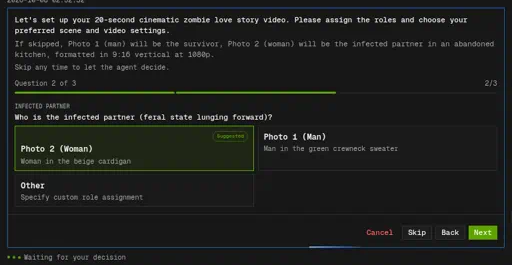
Question 2: Photo 2 (Woman) selected as the infected partner.
Question 3: Opening scene. Where does the apocalyptic standoff take place? The options are:
Dilapidated Kitchen: cracked tiles, peeling wallpaper and cold moonlight filtering through the grime. This is the option the agent recommends.
Ruined Factory: rusted machinery, shattered skylights and gloomy industrial dust.
Derelict Bunker / Hideout: damp concrete walls, flickering emergency lights and stacks of supply crates.
Other: describe your own apocalyptic setting.
We picked Ruined Factory and clicked Submit.
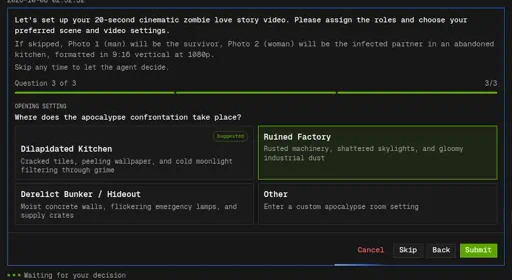
Question 3: we chose Ruined Factory as the opening scene.
Once the roles and scene are saved, the agent shows a video settings card, again with three questions:
Resolution: 480p (recommended), 720p or 1080p. We chose 720p.
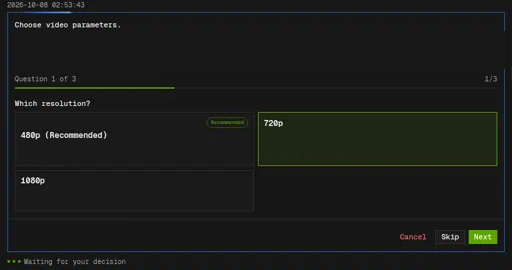
Choose the resolution. We went with 720p.
Aspect ratio: adaptive (recommended), 16:9, 9:16, 1:1, 4:3, 3:4 or 21:9. The skill page focuses on two of them, 9:16 vertical and 16:9 widescreen. We chose 16:9.
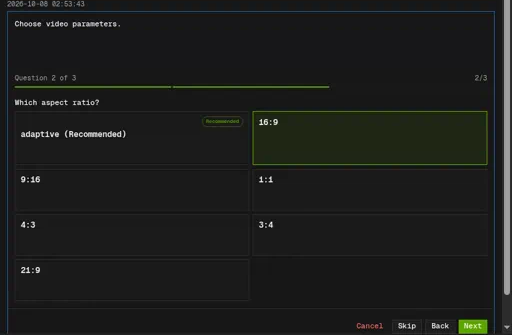
Choose the aspect ratio. We went with 16:9 widescreen.
Output format: mp4 (recommended) or mov. We kept the default, mp4, and clicked Submit.
The duration is fixed at 20 seconds and audio is always generated, so you don't need to set either one.
Step 5: Confirm and Wait for Your Video
After you submit your choices, the agent shows a Confirm jobs card listing the model and settings for this run. The model is Seedance 2.5 Reference to Video, the job is named "Zombie AI Video Trend · 20s Cinematic Apocalypse Memory", and the settings are 16:9, 720p and 20 seconds. If everything looks right, click Generate.
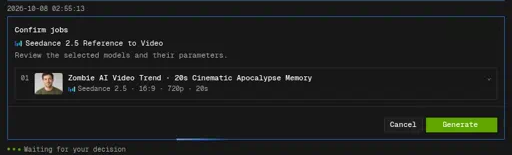
Check the model and settings, then click Generate.
Once generation starts, the card shows Generating in its top-right corner and the bottom of the chat shows "Working on media". All you have to do is wait.
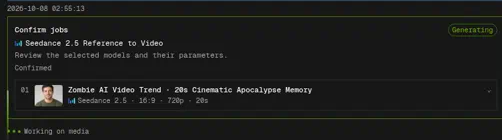
The video is generating.
When it is finished, the agent replies "Here are the generated results." and the video appears in the chat as a thumbnail. Our 720p, 20-second video was ready in under four minutes.
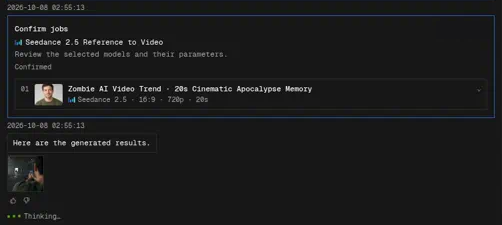
Done: the finished video appears in the chat.
The Result: Our Zombie AI Video Love Story
Here are six key moments from the finished video, in order. Both leads clearly match the two uploaded photos, and in the opening they even wear the same clothes as in the photos: the man in his green sweater and the woman in her beige cardigan.
The story opens in the ruined factory. In an over-the-shoulder shot, the man stands with his back to the camera, gun raised, while the woman, in a beige cardigan and white dress, stands far away in the dim factory hall.
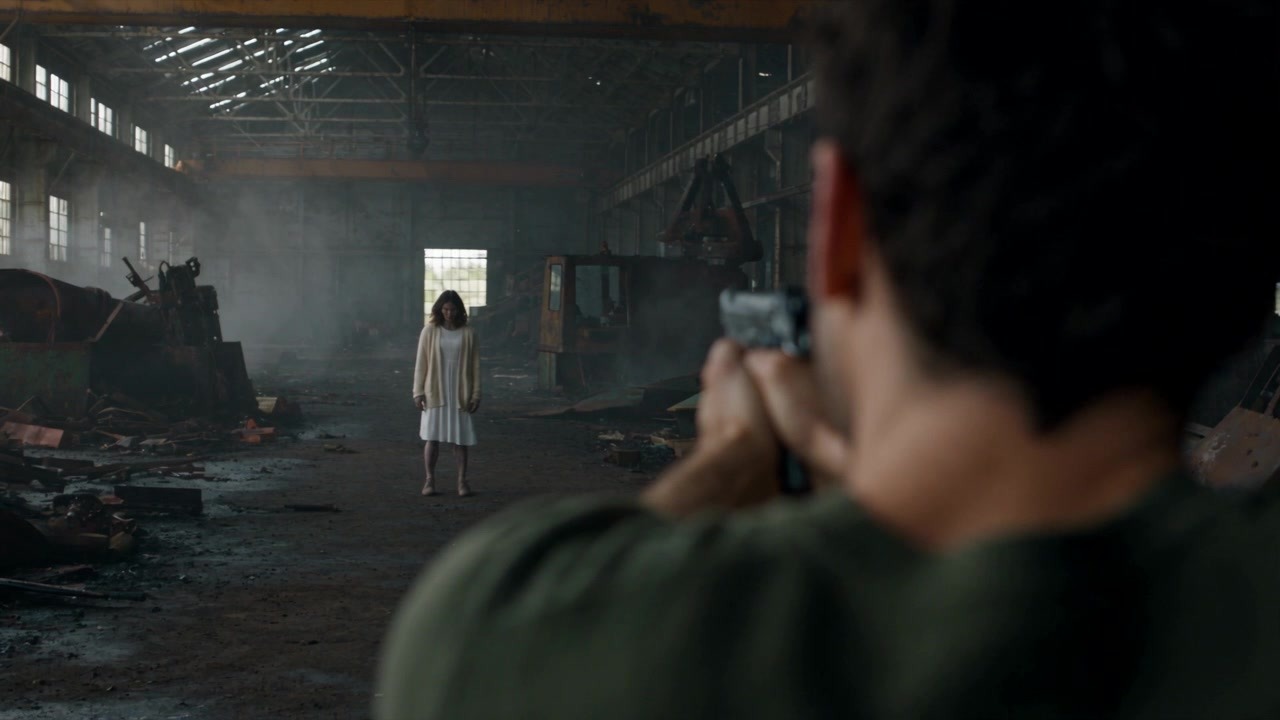
Around 0s: the standoff in the ruined factory.
The camera cuts to a close-up of her. Dark, crack-like infection marks cover her face as she stares straight ahead.
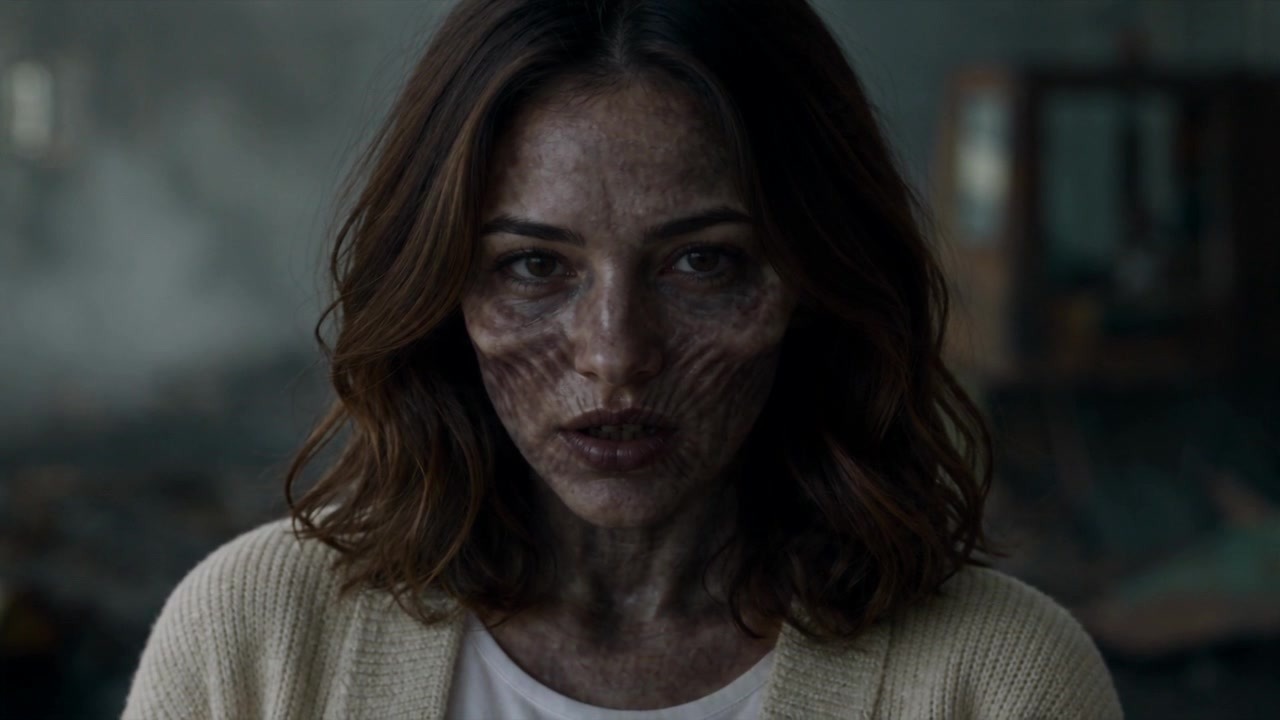
Around 1–2s: the infected partner.
Tears streaming down his face, he aims the gun at her with both hands. Then the gun drops out of frame, and he closes his eyes and sobs.
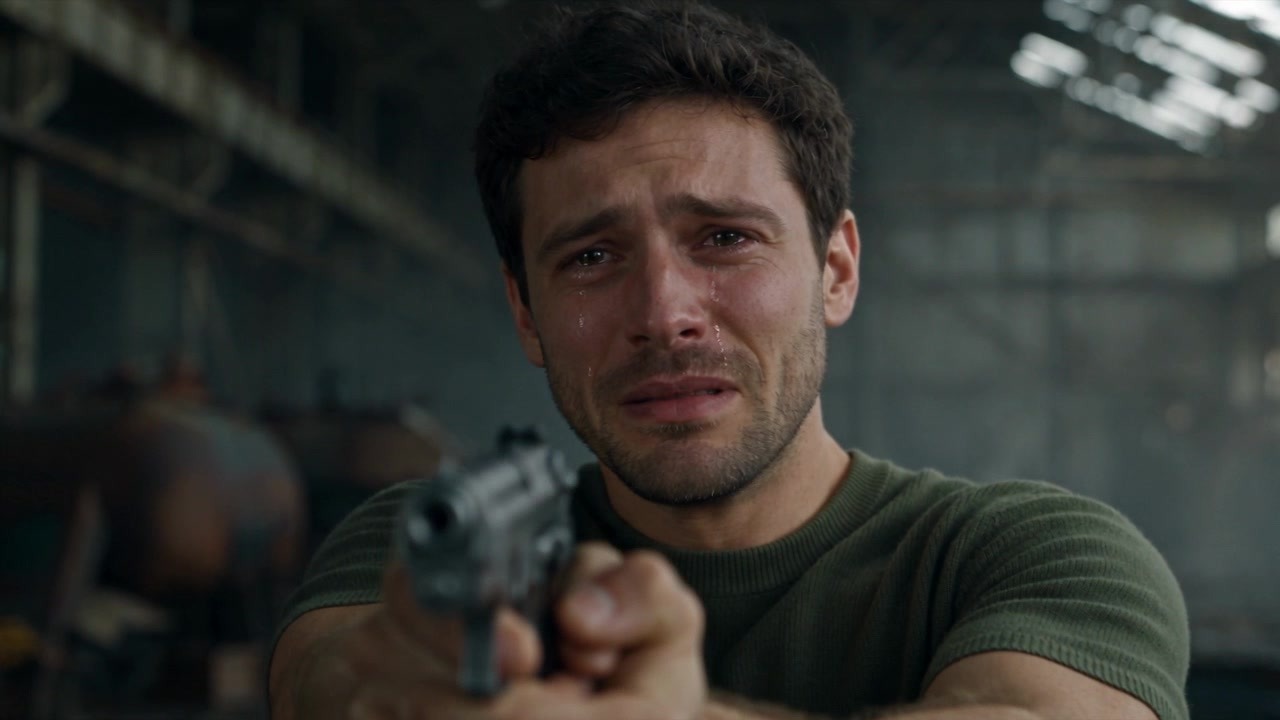
Around 3s: the survivor raises the gun through his tears.
She sprints toward the camera from deep inside the factory, mouth open in a scream and arms stretched out, until she almost fills the frame.
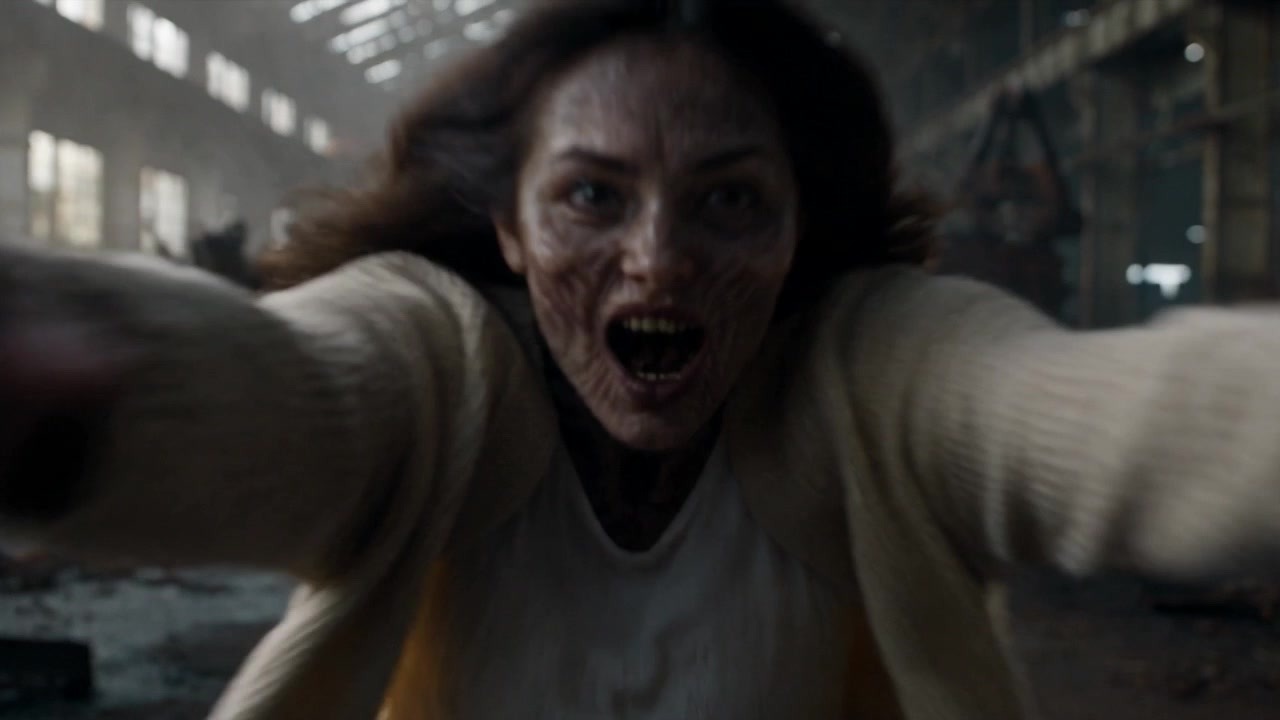
Around 6s: the infected partner lunges at the camera.
At the very moment she lunges, a match cut drops us into a golden meadow at sunset. With her arms open in the same pose, she leaps into his embrace, laughing. Now she wears a white dress with no trace of infection, and he has changed into a light blue shirt.
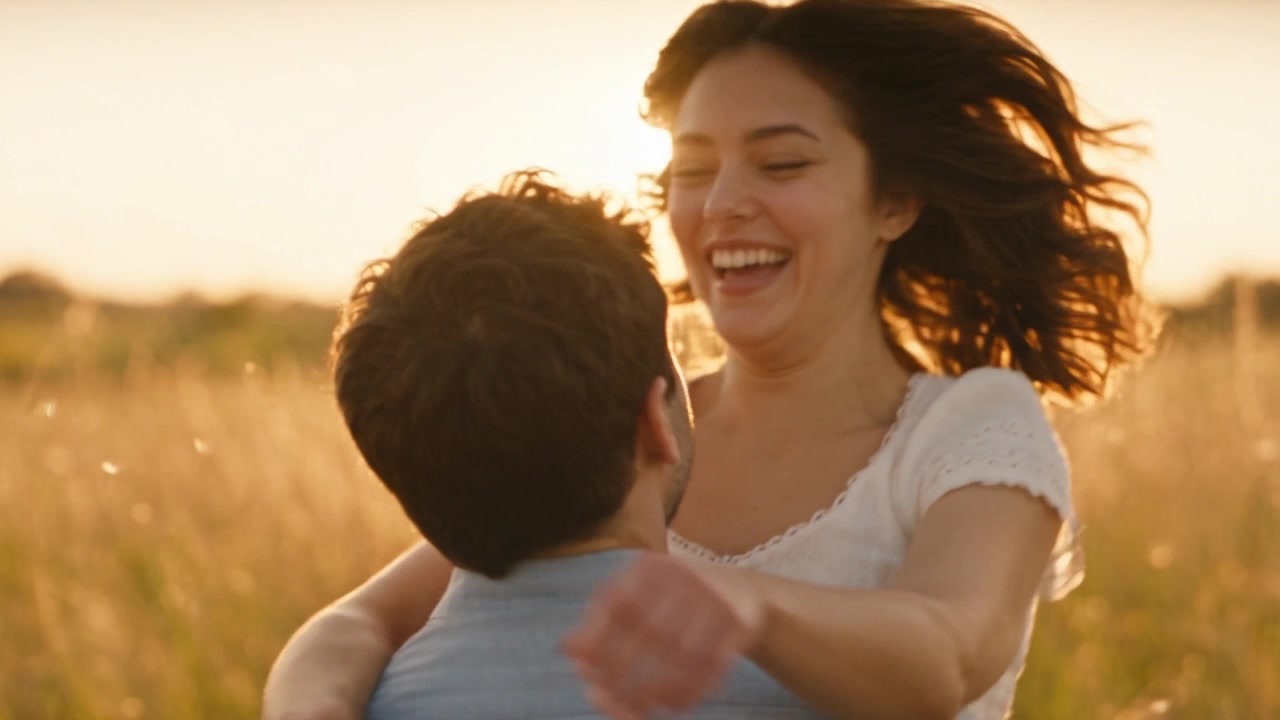
Around 6–7s: the match cut into the golden memory.
From there, the two of them hug, spin and laugh close together in the meadow, then run hand in hand through the tall grass. The video ends on a warm close-up of the couple with their foreheads touching, eyes closed and smiling.
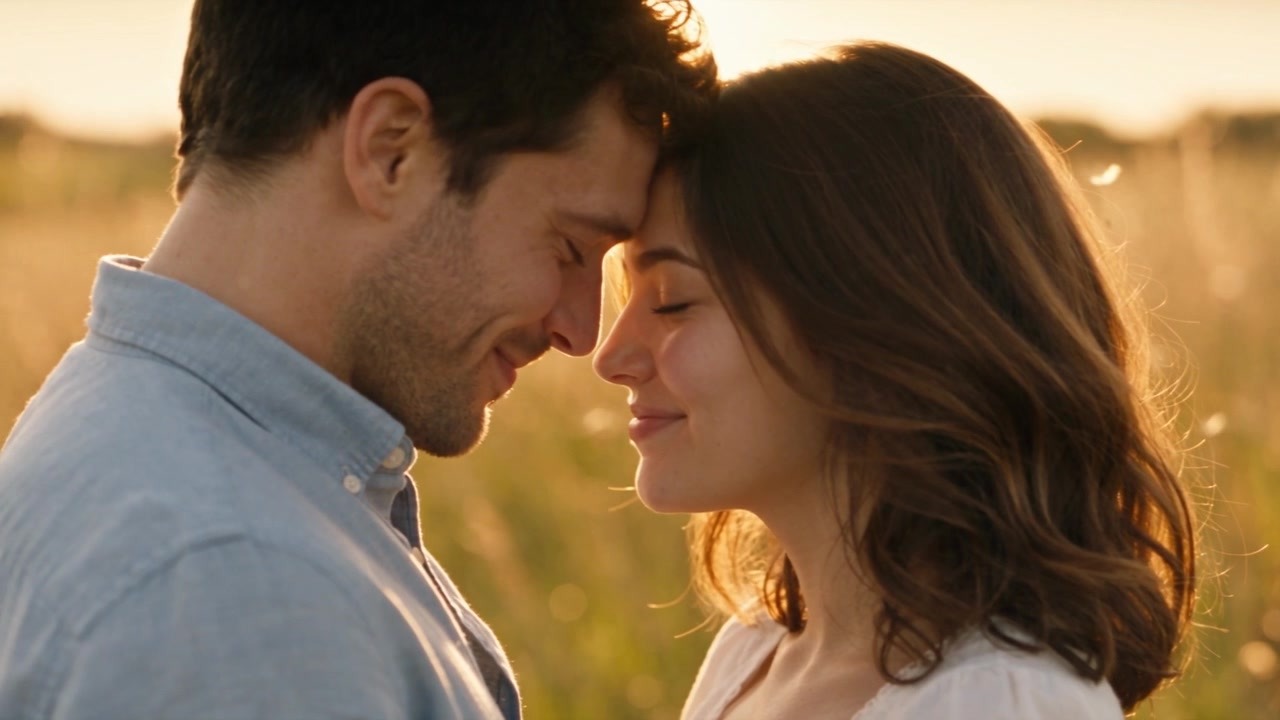
Around 16–20s: the closing close-up, foreheads touching.
Watch the full 20-second video (16:9, 720p, with audio) below.
The finished 20-second zombie AI video love story, made with the Zombie AI Video Trend skill on PoloX AI.
Tips for Better Results
Use clear, front-facing photos. Pick solo shots that face the camera (or nearly), with clear features and even lighting. Avoid sunglasses, masks, hat brims or anything else that covers the face, and the characters will look more like the people in your photos.
Pay attention to the outfits. In our example, the clothes in the photos carried over into the apocalyptic standoff, so choose photos that fit the look you want.
Test at 480p first. The resolution card recommends 480p by default. Generate a 480p version first to check that the roles, scene and pacing work for you, then make the final version at 720p or 1080p.
Match the aspect ratio to where you'll post. For short-video platforms such as TikTok, Instagram Reels or YouTube Shorts, choose 9:16 vertical. For widescreen viewing, such as a regular YouTube video, choose 16:9.
Watch the upload order. The first photo is Photo 1 and the second is Photo 2. If the role assignment the agent suggests isn't what you want, just pick a different option on the card, or choose Other to set your own.
Not happy with it? Just say so. Tell the agent in the chat what you want to change, for example a different scene or a vertical format, and it will generate a new version.
Get consent before using real people's photos. Under PoloX AI's terms, content involving a real person's likeness must not be used in advertising, promotion or any other commercial context without that person's written consent.
Try It Now
Conclusion
Going from two photos to a complete apocalyptic love story takes nothing more than uploading the photos, answering a few questions and clicking Generate. The choice cards handle the casting, scene, aspect ratio and resolution, while the skill and the agent take care of the prompt and model settings. Pick two photos you love and make an apocalypse memory of your own.